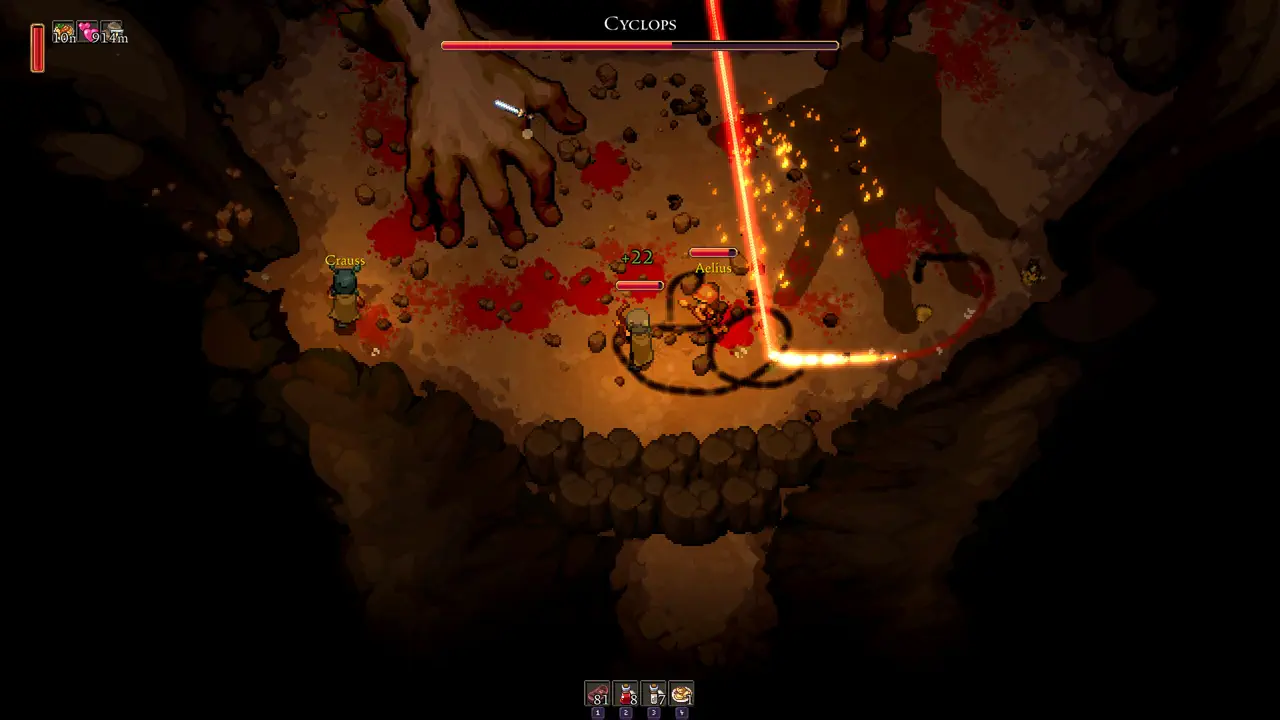
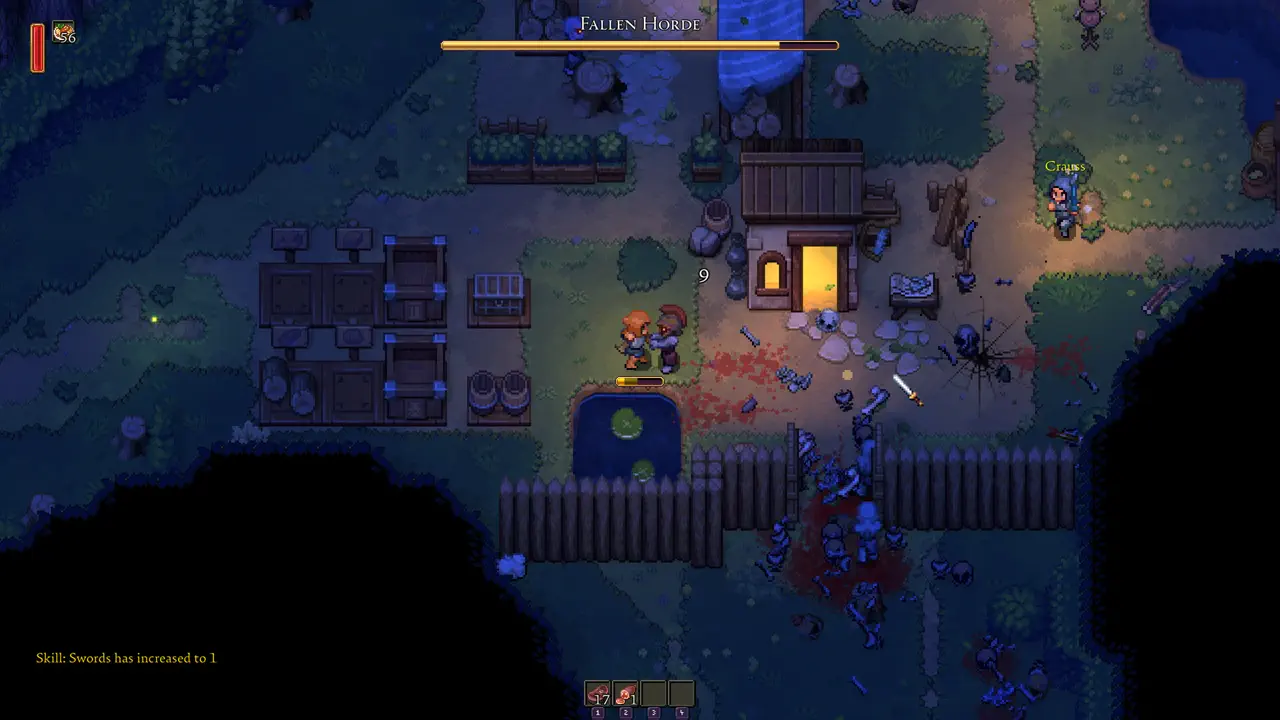
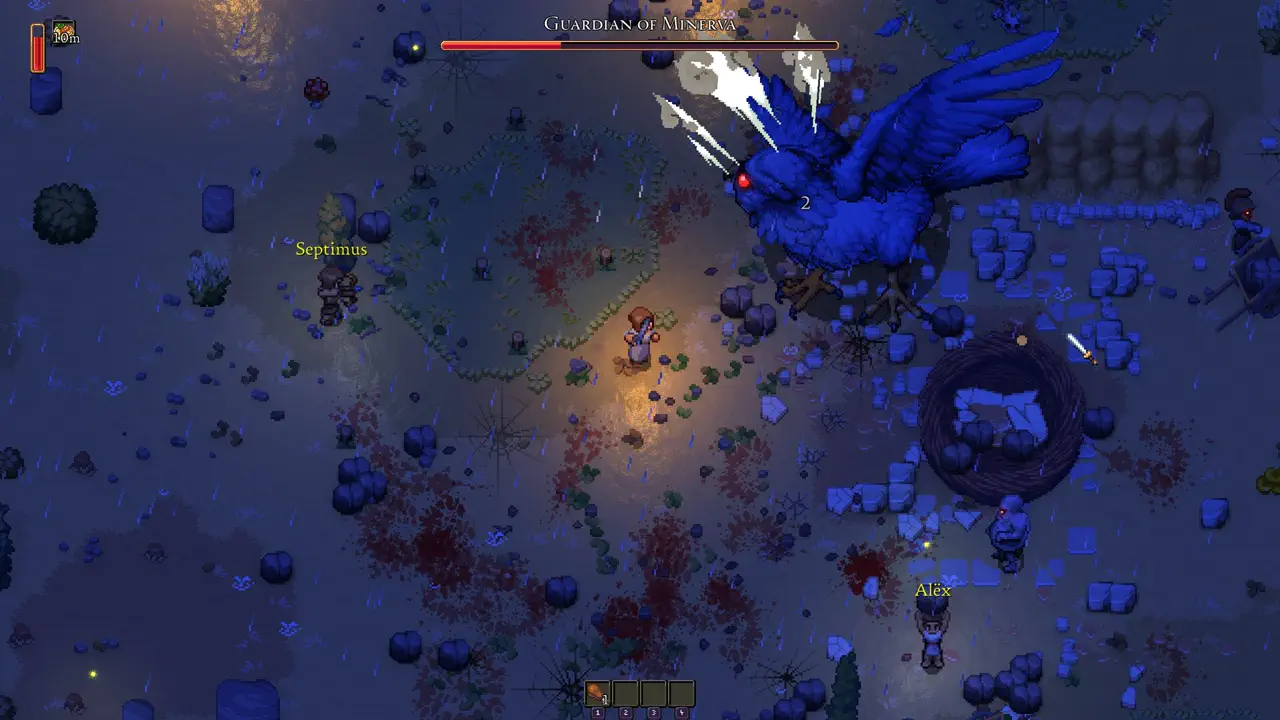
Start with a flexible hub layout, then adapt when recipes, enemies, survivors, and co-op needs become clearer.
Recommended Layout Shape
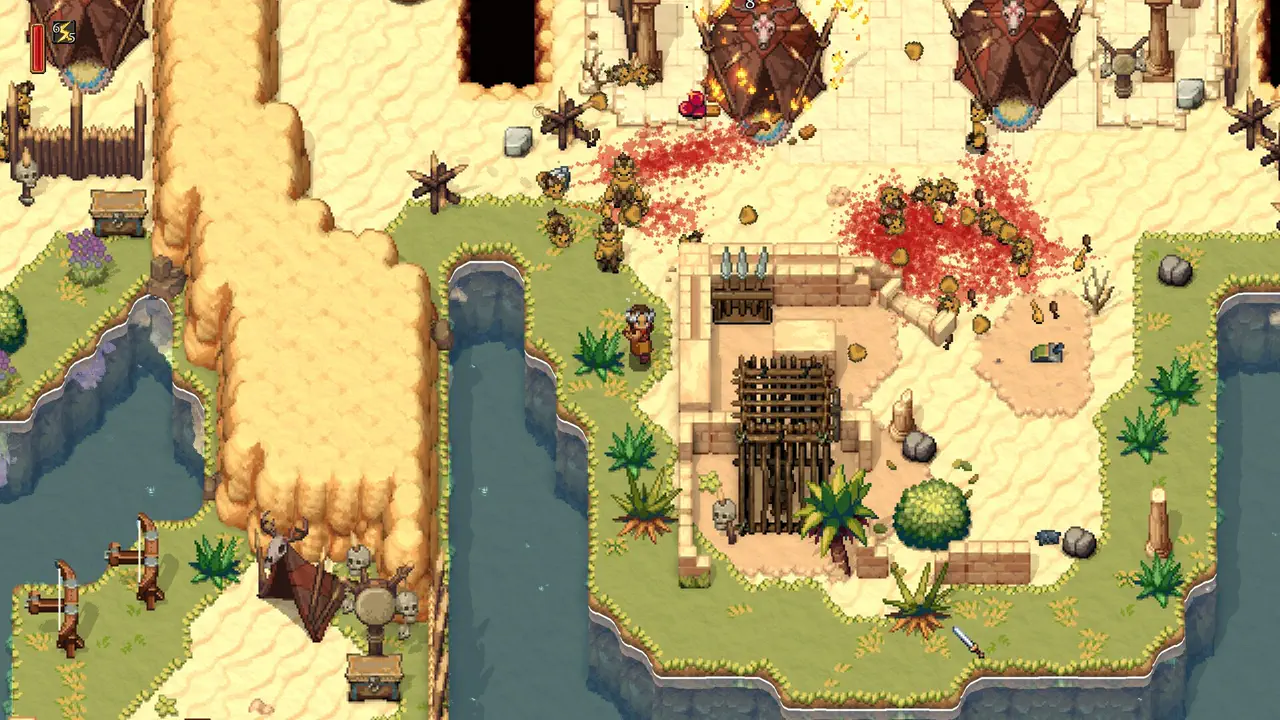
Use a compact core with storage in the middle, workstations close by, food production on reachable edges, and defense facing likely pressure points.
Actions
Do this now
Why This Layout Works Early
It reduces walking, keeps key jobs visible, and lets you expand without tearing down the entire settlement.
Actions
Do this now
Layout for Co-op Groups
Co-op layouts need clear shared storage and obvious work zones. If players cannot see where food, crafting, and resources belong, group play becomes messy fast.
Actions
Do this now
Layout for Future Systems
Leave space for crafting, tools, armor, weapons, and resource pages to become more specific later. A flexible layout beats a fixed blueprint while systems are still being documented.
Actions
Do this now
Practical Blueprint Without Exact Tiles
Use a hub-and-spoke idea: storage in the center, workstations around it, farms on protected edges, and defense facing the routes you actually use. This gives you a layout you can adapt without pretending that one tile-perfect answer is proven.
Actions
Do this now
- Center: shared material storage and the most-used crafting stations.
- Inner ring: food access, repair access, and short worker paths.
- Outer ring: farms, automation buildings, and expansion lanes.
- Edges: defensive routes and clear return paths from exploration.
When to Rebuild Instead of Patch
Small fixes are enough when only one route is slow. Rebuild the core when storage is in the wrong place, farms are exposed, or every new workstation makes the base harder to read.
Actions
Do this now
How to Adapt the Layout After Patches
When a patch changes recipes, balance, or worker behavior, do not rebuild everything immediately. Watch which route becomes painful first: storage, food, defense, crafting, or exploration. Fix that route, then decide whether the hub still works.
Actions


